Bot Framework Composer Series - 4 - Send a user profile card
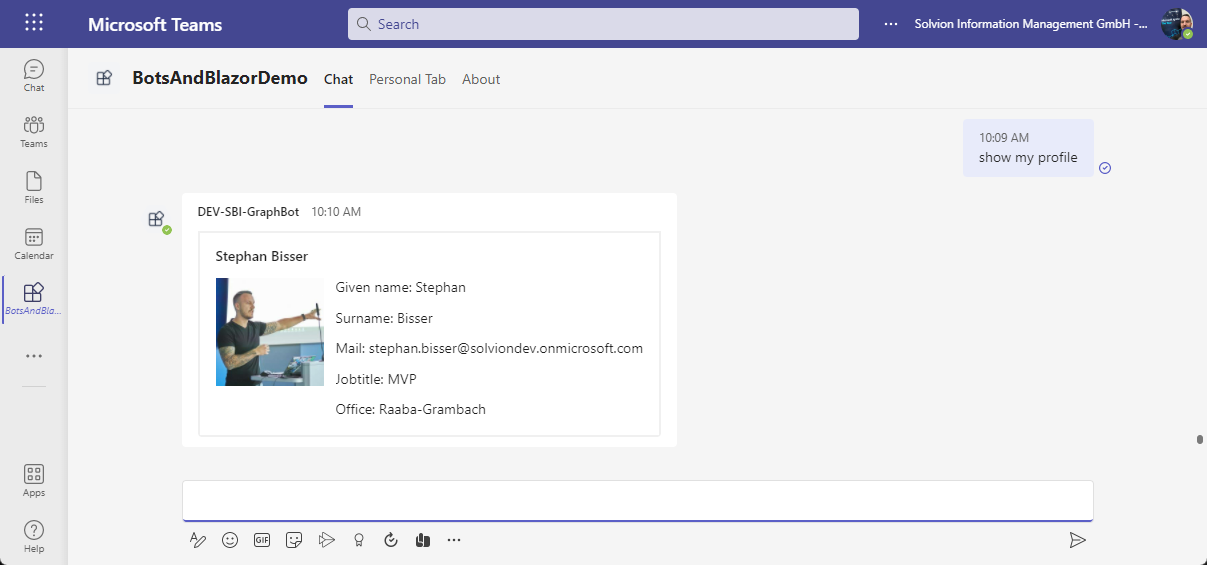
As I was building some demo bots quite recently, I was also dealing a lot with including user profile information in a bot using the Microsoft Graph and Bot Framework Composer !
Build the dialog
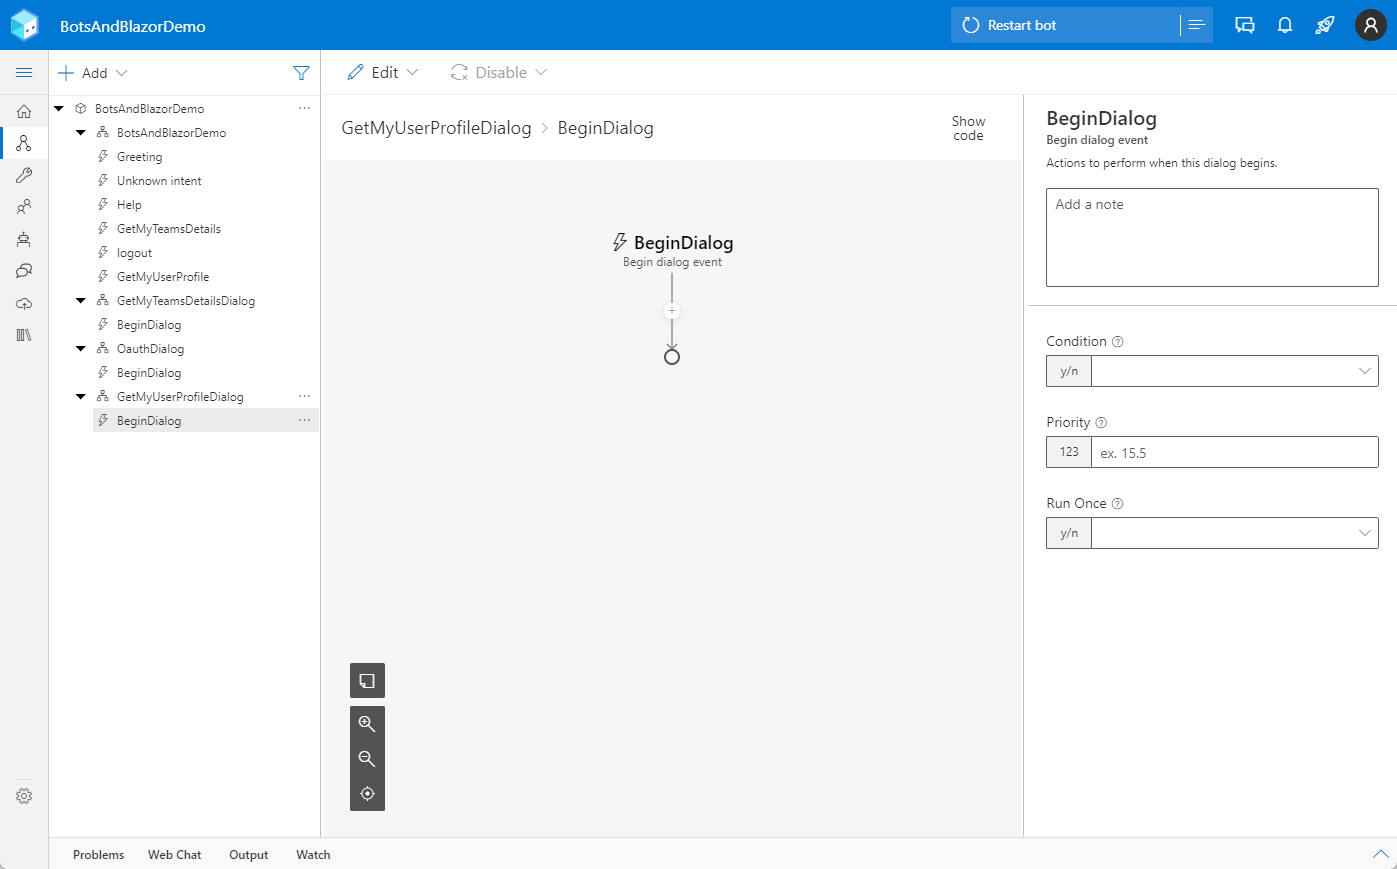
The first thing you need to do after creating a new bot in Composer (doesn’t matter which template you choose), is to add a new trigger for the dialog. In this tutorial the dialog is called GetMyUserProfileDialog and will be used to get the necessary information from the Graph and display it using an Adaptive Card:
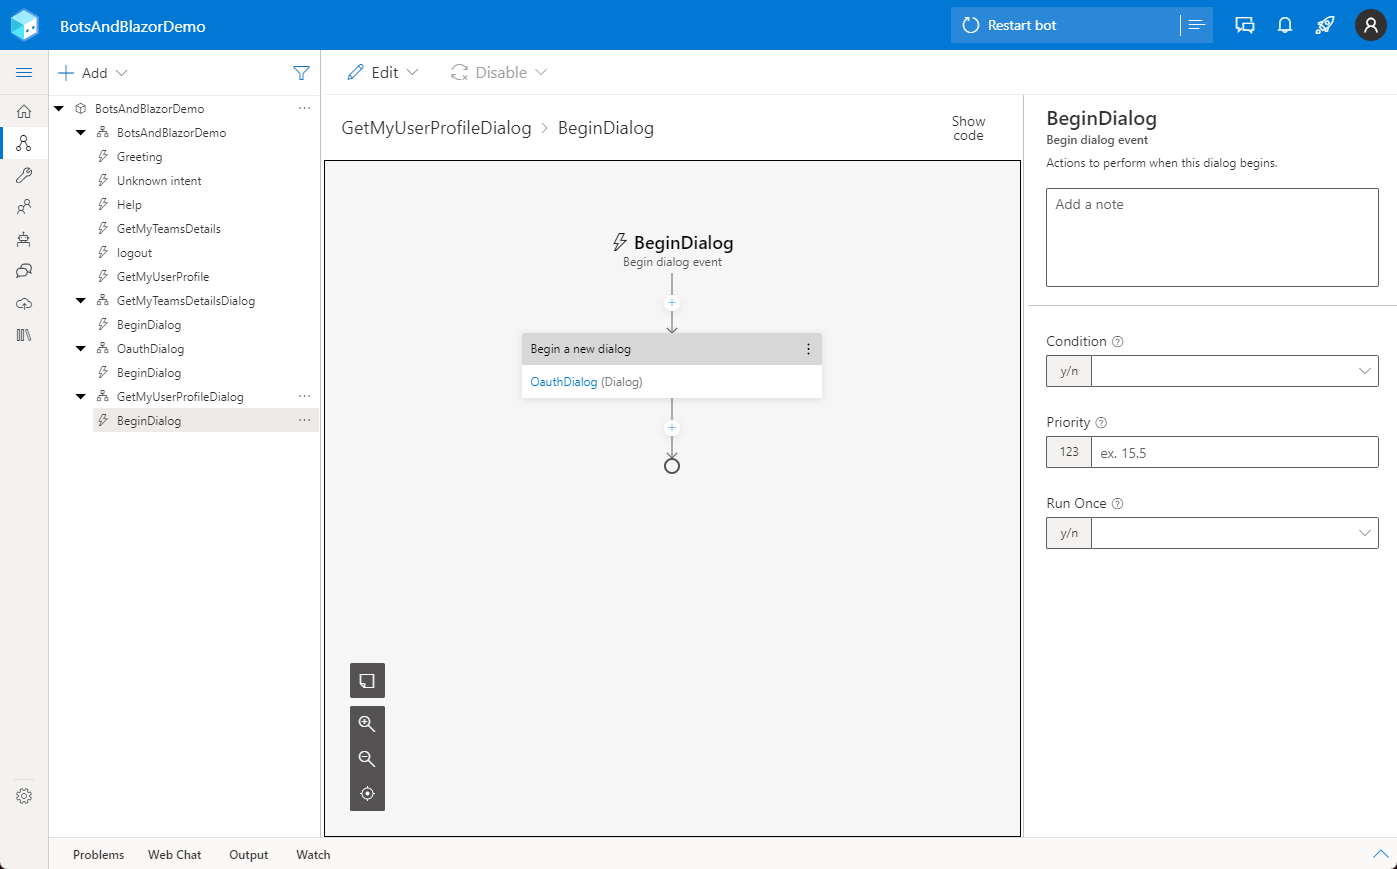
The first action we need in this dialog is to make sure that the user is authenticated. Therefore, we will begin a new dialog called OauthDialog which will make sure to authenticate the user if the user is not already logged in:
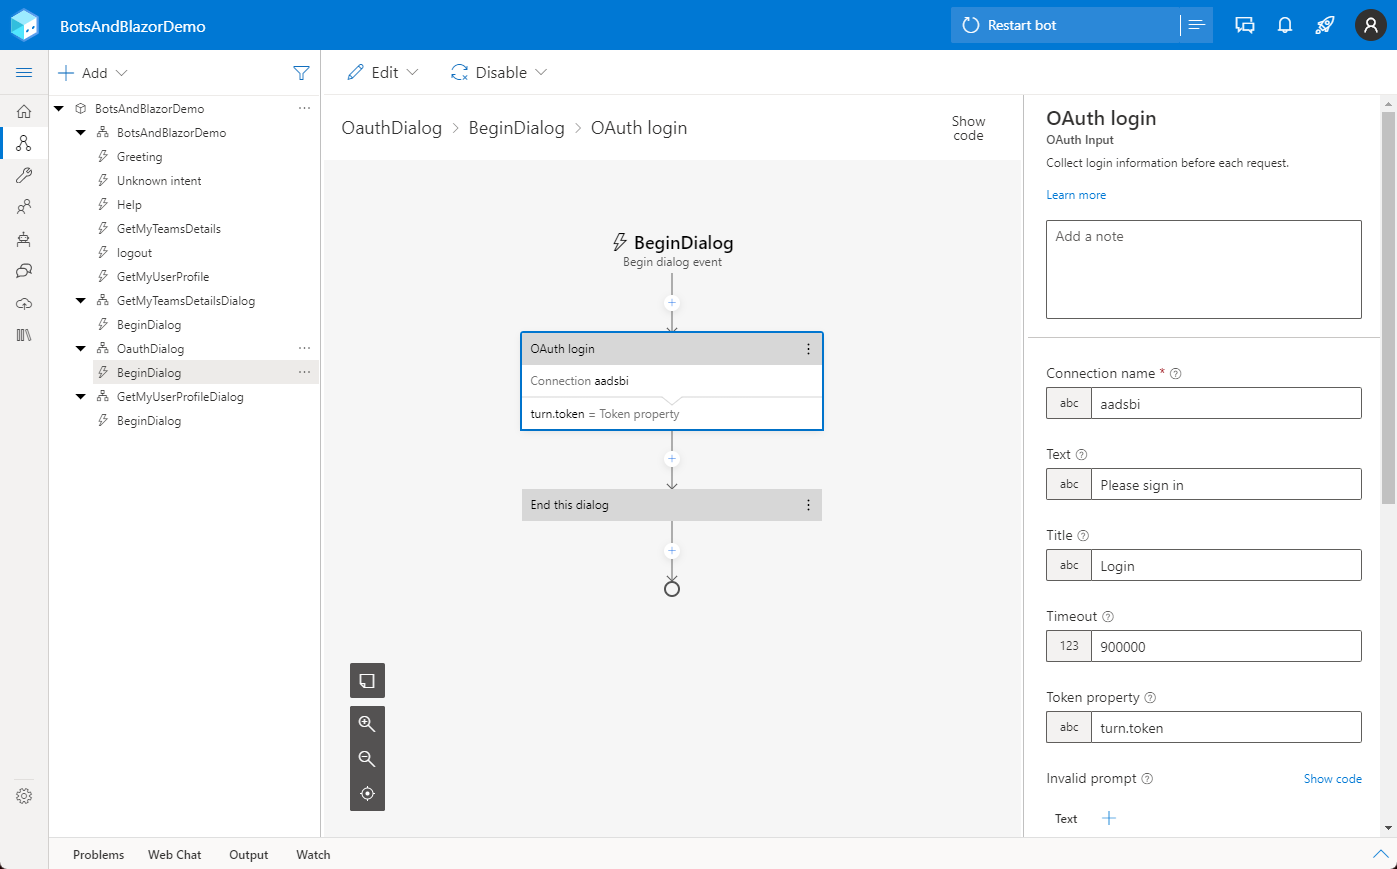
Within the OauthDialog, we simply use the action OAuth login which takes the connection name of the OAuth Connection Setting, which you need to configure on your Azure Bot (follow this tutorial to configure everything):
Install and use the Microsoft Graph package
Now that the authentication flow is set up, we can install a package from the package manager in Composer to ease the use of the Microsoft Graph. Simply install the Microsoft.Bot.Components.Graph package as shown below:
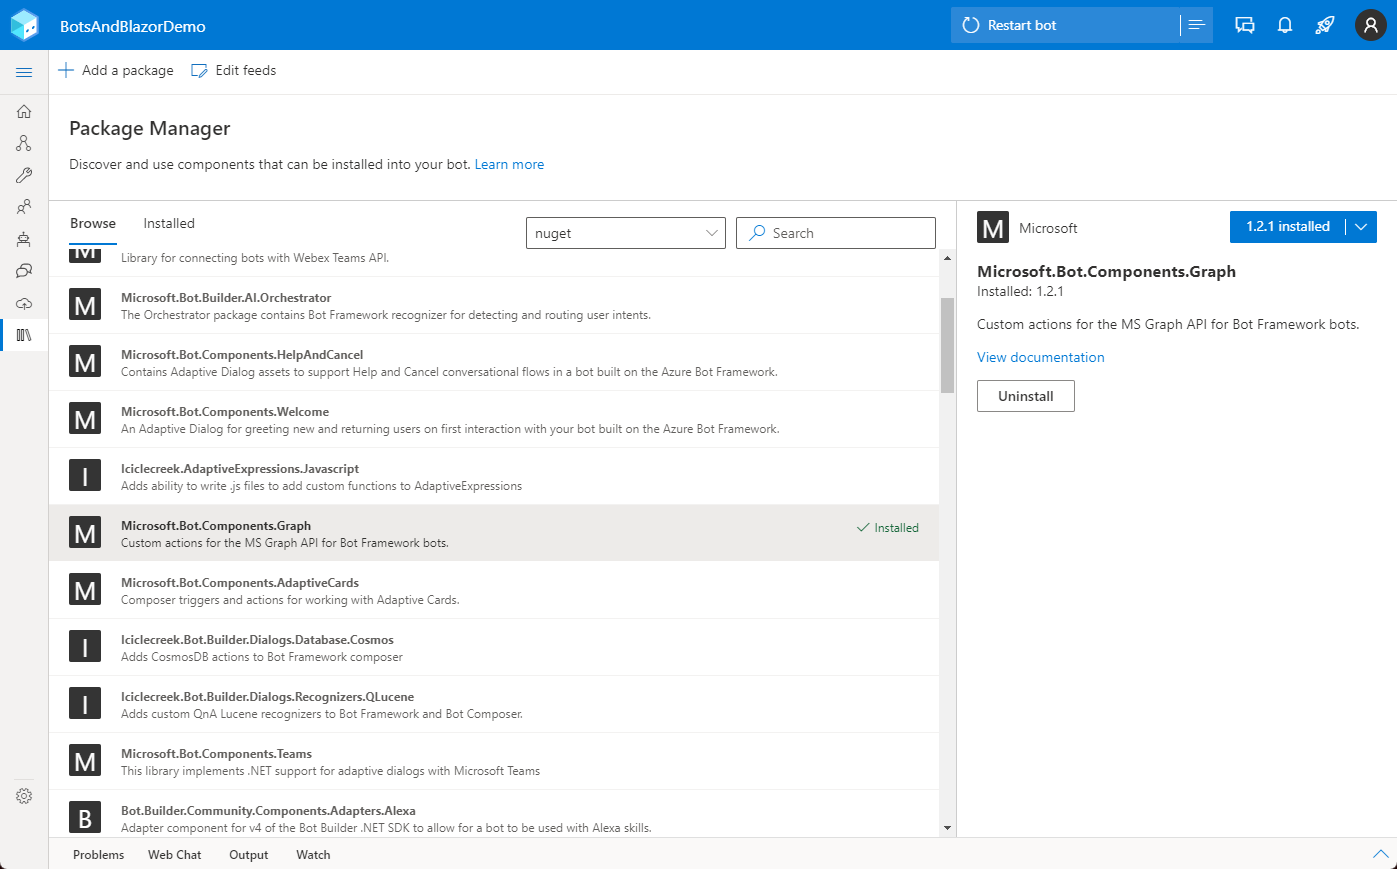
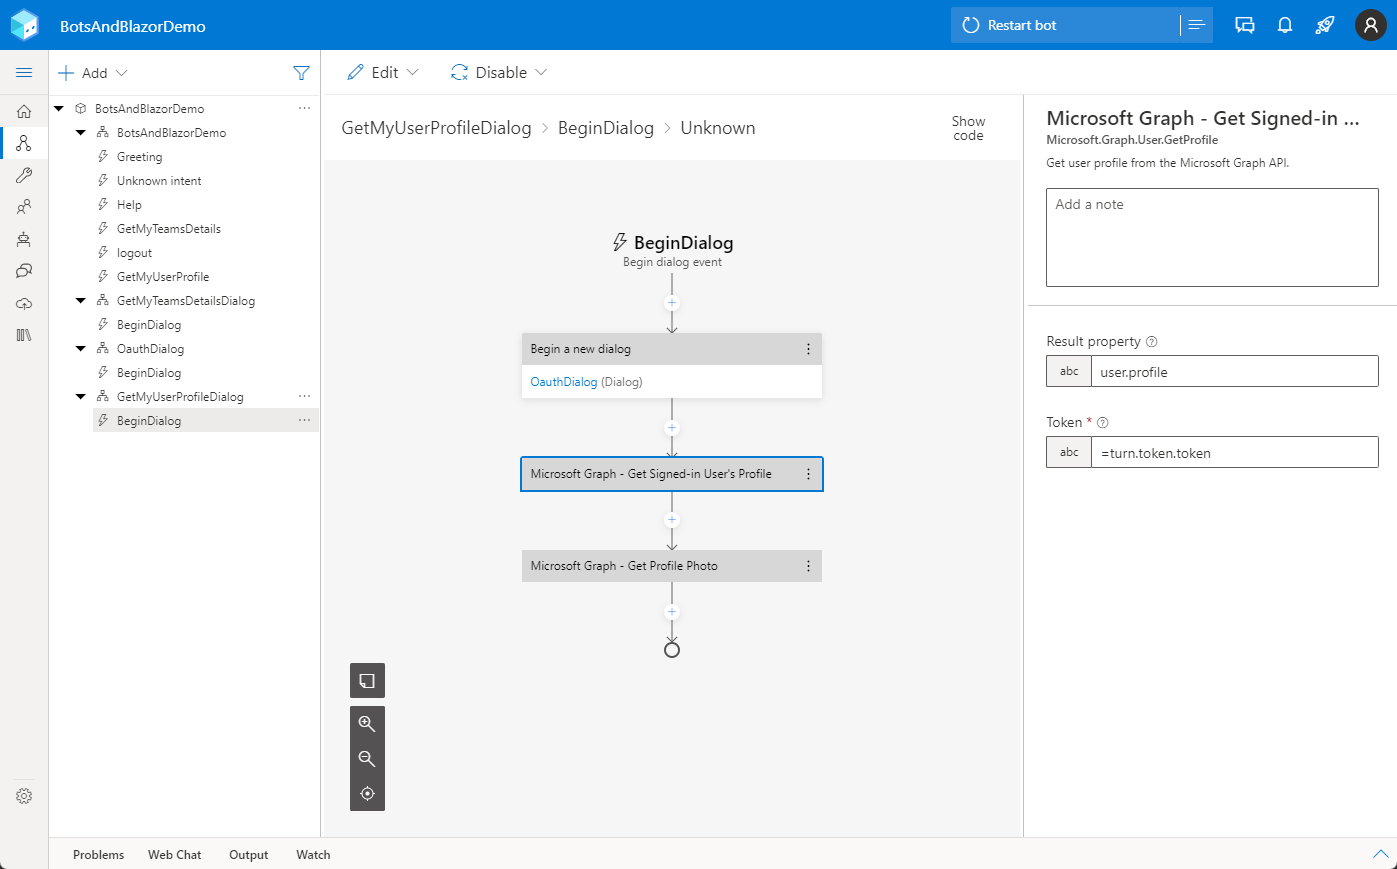
This will then add more actions to your list of available actions in Composer. Now we can use the action “Microsoft Graph Get Signed-in User’s Profile” which only takes the token as a parameter and you do not need to take care of the rest to connect to the Graph:
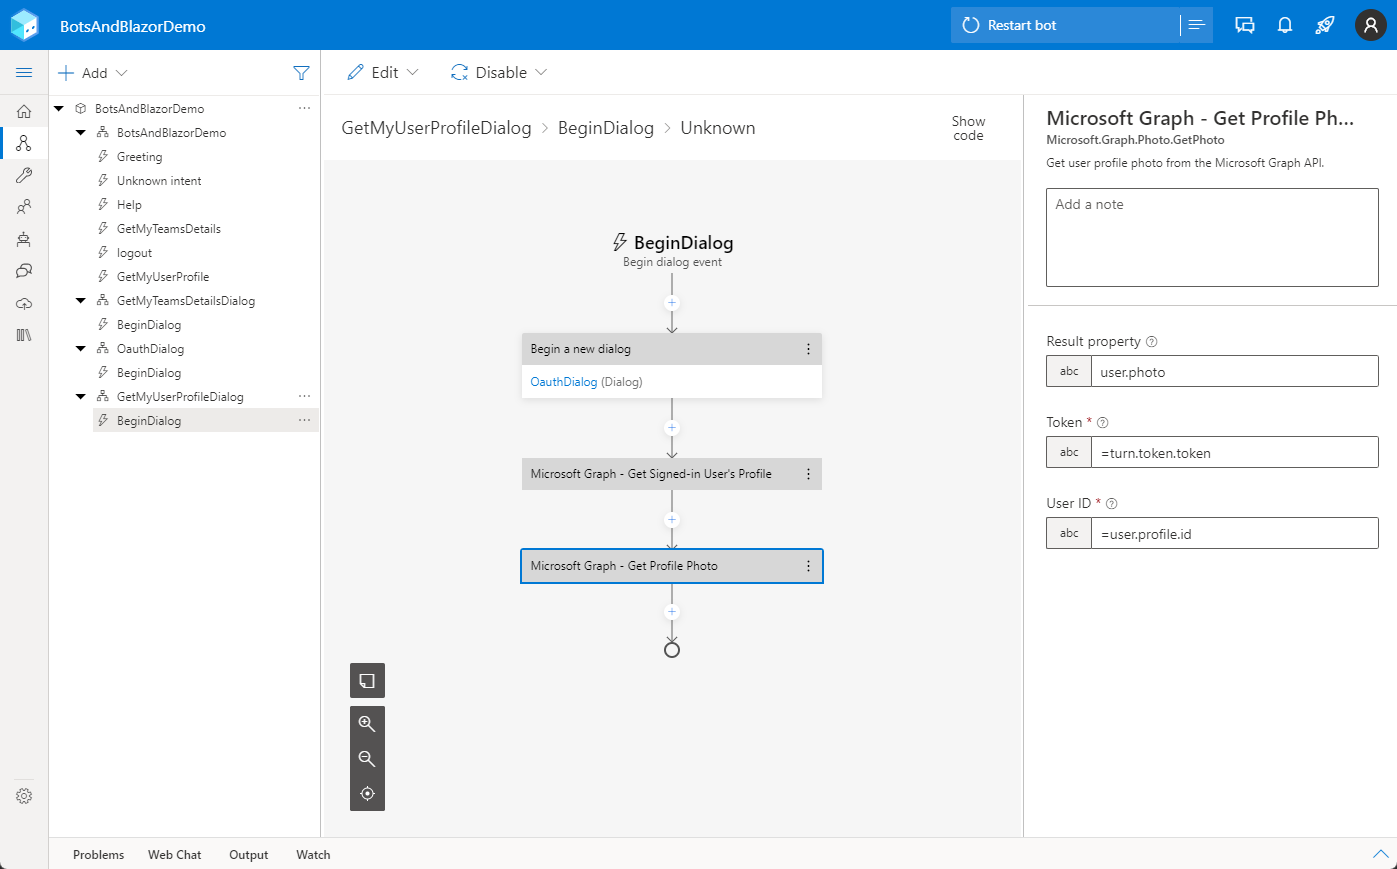
The second thing we need for our profile card is the user’s profile picture. Again we take advantage of the Microsoft Graph package to retreive that, by using the “Microsoft Graph - Get Profile Photo” which takes the token and the user ID as parameters and returns the user profile picture to be used later on:
Create the Adaptive Card template
Now that we have all information we need, we can go ahead and create the Adaptive Card using the Adaptive Card Designer :
{
    "type": "AdaptiveCard",
    "$schema": "http://adaptivecards.io/schemas/adaptive-card.json",
    "version": "1.3",
    "body": [
        {
            "type": "TextBlock",
            "text": "${user.profile.displayName}",
            "wrap": true,
            "size": "Medium",
            "weight": "Bolder"
        },
        {
            "type": "Container",
            "items": [
                {
                    "type": "ColumnSet",
                    "columns": [
                        {
                            "type": "Column",
                            "width": "auto",
                            "items": [
                                {
                                    "type": "Image",
                                    "url": "data:image/png;base64,${user.photo}",
                                    "size": "Large",
                                    "horizontalAlignment": "Center"
                                }
                            ],
                            "horizontalAlignment": "Center"
                        },
                        {
                            "type": "Column",
                            "width": "stretch",
                            "items": [
                                {
                                    "type": "TextBlock",
                                    "text": "Given name: ${user.profile.givenName}",
                                    "wrap": true
                                },
                                {
                                    "type": "TextBlock",
                                    "text": "Surname: ${user.profile.surname}",
                                    "wrap": true
                                },
                                {
                                    "type": "TextBlock",
                                    "text": "Mail: ${user.profile.mail}",
                                    "wrap": true
                                },
                                {
                                    "type": "TextBlock",
                                    "text": "Jobtitle: ${user.profile.jobTitle}",
                                    "wrap": true
                                },
                                {
                                    "type": "TextBlock",
                                    "text": "Office: ${user.profile.officeLocation}",
                                    "wrap": true
                                }
                            ]
                        }
                    ]
                }
            ]
        }
    ],
    "msteams": {
        "width": "Full"
    }
}
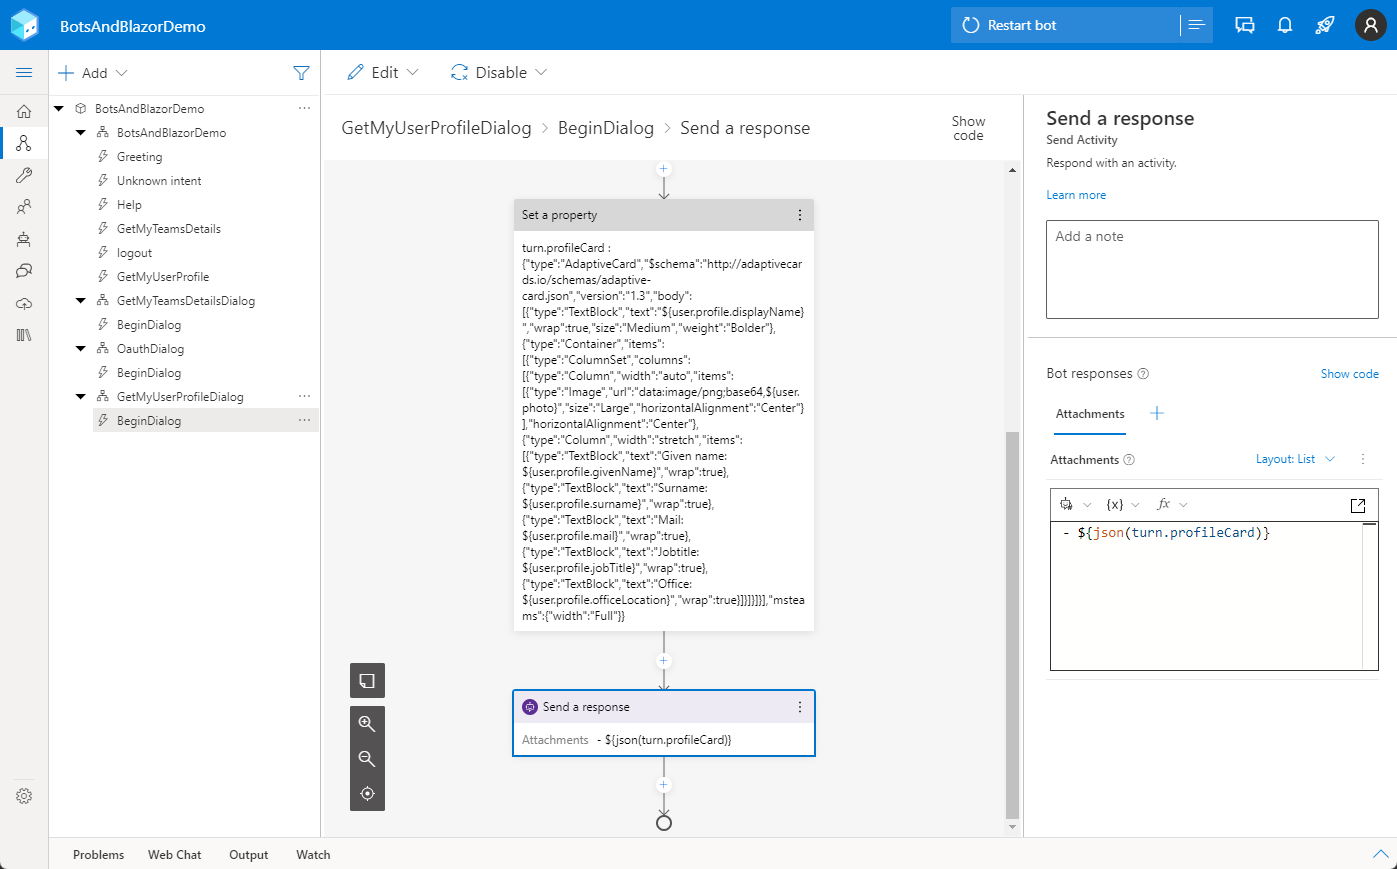
After the card design is ready, we can simply copy the JSON payload into the value of a new property called turn.profileCard
IMPORTANT: make sure to select {} object as a type
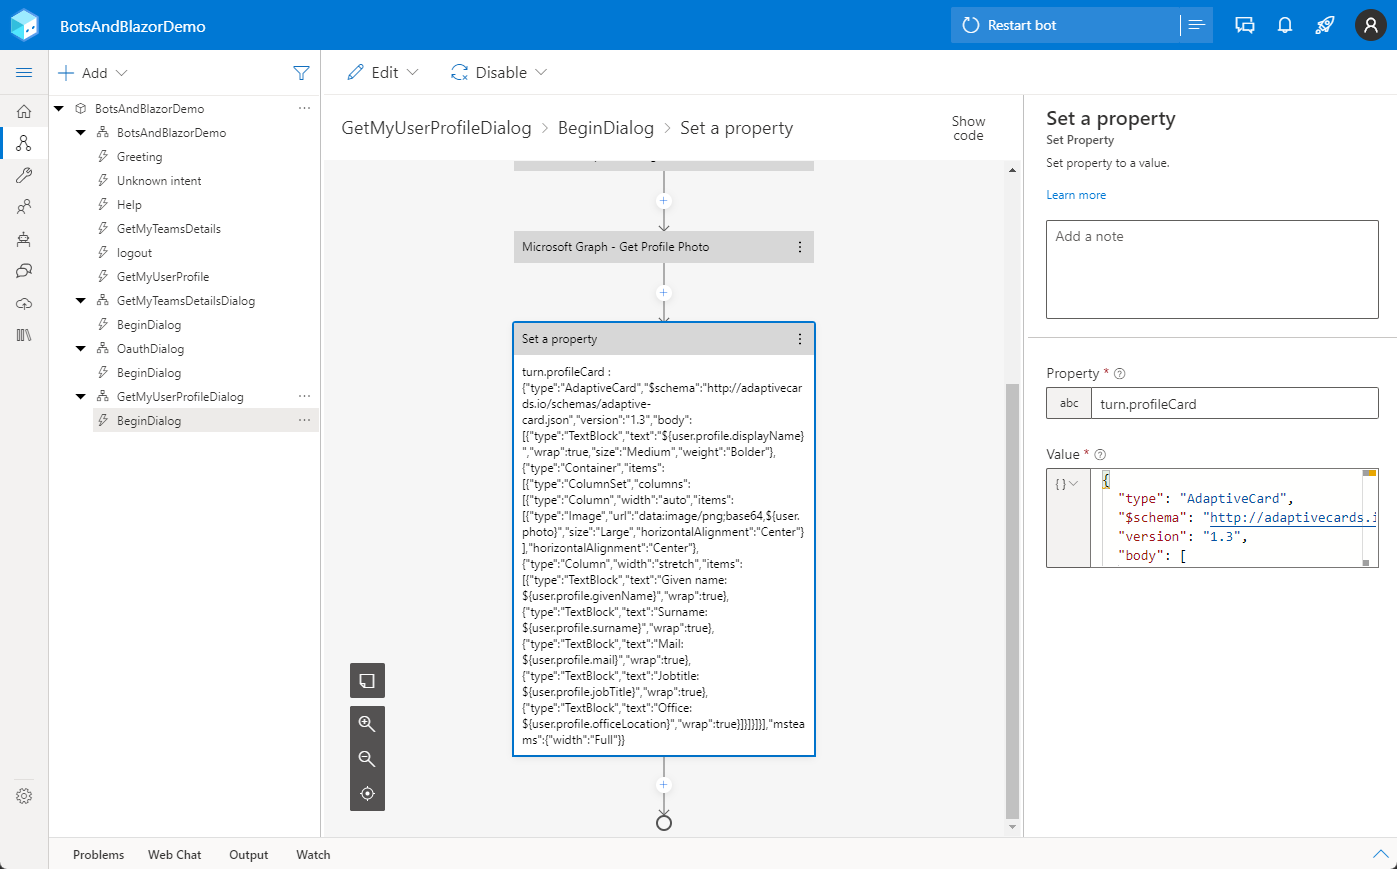
Now the last thing we need is to send out the Adaptive Card using the Send a response action with the card payload attached as an attachment:
Test the bot
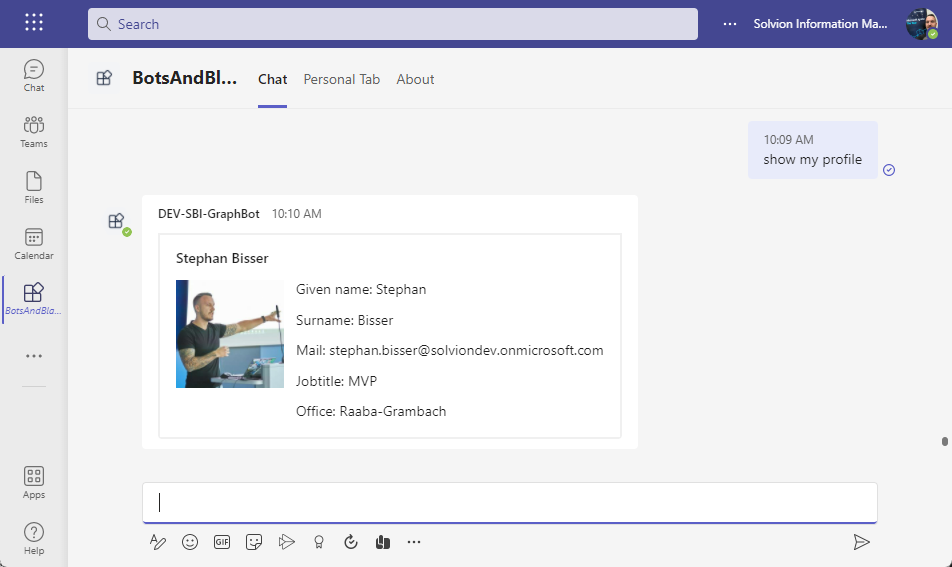
After you have started or deployed your bot (depending if you’re running a tunneling software on your machine or not), you should be able to test your bot in Microsoft Teams and after the bot will ask you to authenticate, you should see your profile details in a nice Adaptive Card:
Summary
It is quite easy to leverage the Microsoft Graph using Bot Framework Composer by simply adding the Microsoft Graph package to it. . If you haven’t check out the other parts of my Bot Framework Composer series Use Adaptive Cards , Property management & Teams Task Modules