Setting up a Build and Release Pipeline for Azure Bot Service using Azure DevOps
This post is something I wanted to do for a long time already. In my opinion, the topic of CI/CD can be very beneficial in terms of easier deployments and delivery of solutions. That is why I decided to run through the process of a creating a CI/CD pipeline for an Azure Bot Service based on Azure DevOps which I want to share with you with this post.
Preparation
First of all, we need to prepare a couple of things before we can actually start building our CI/CD pipeline:
Create Azure DevOps repository
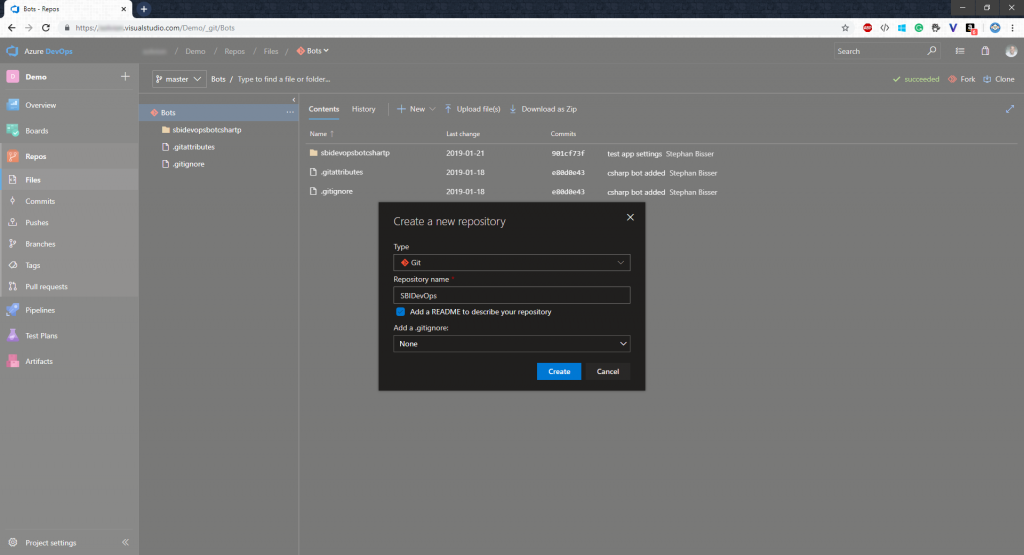
First of all, we need to create an Azure DevOps repository where we actually store our code. So head over to your Azure DevOps environment, which will be something like https://{tenantName}.visualstudio.com and create a new repository.
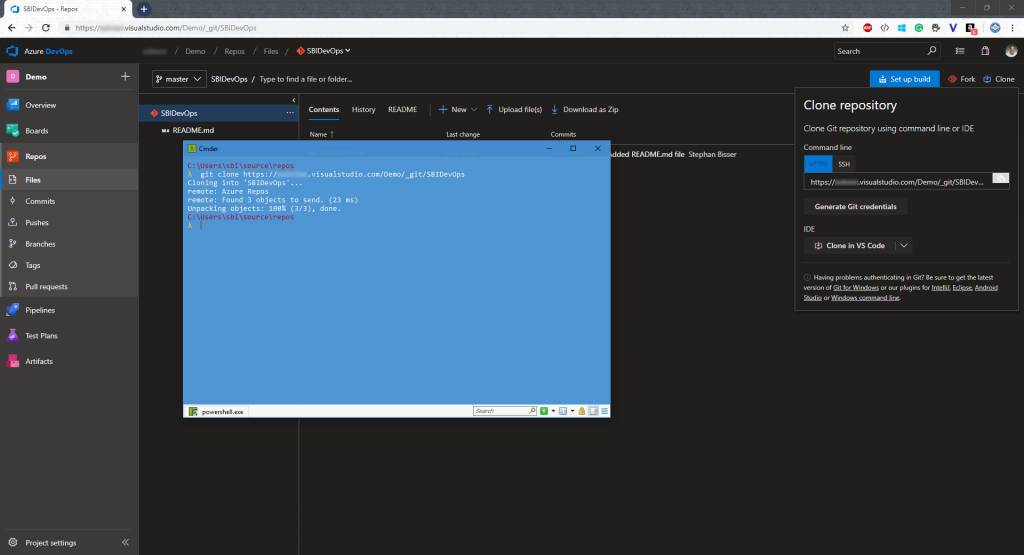
Then we use the command line to clone the repo to our local disk and initialize the Git repo locally. To do that open your CMD of choice, navigate to a folder where you would like to store the source code and execute the command
git clone https://{tenantName}.visualstudio.com/{projectName/_git/{repoName}
After the Git repo is initialized locally, we can now create a new VS bot project in that folder which will allow us to commit and push the code we are building locally to Azure DevOps for further processing. This way, we can develop and test our solution locally and if we say the code shall be deployed to Azure, we can just commit and push and the pipeline will do the rest, as we will see later on.
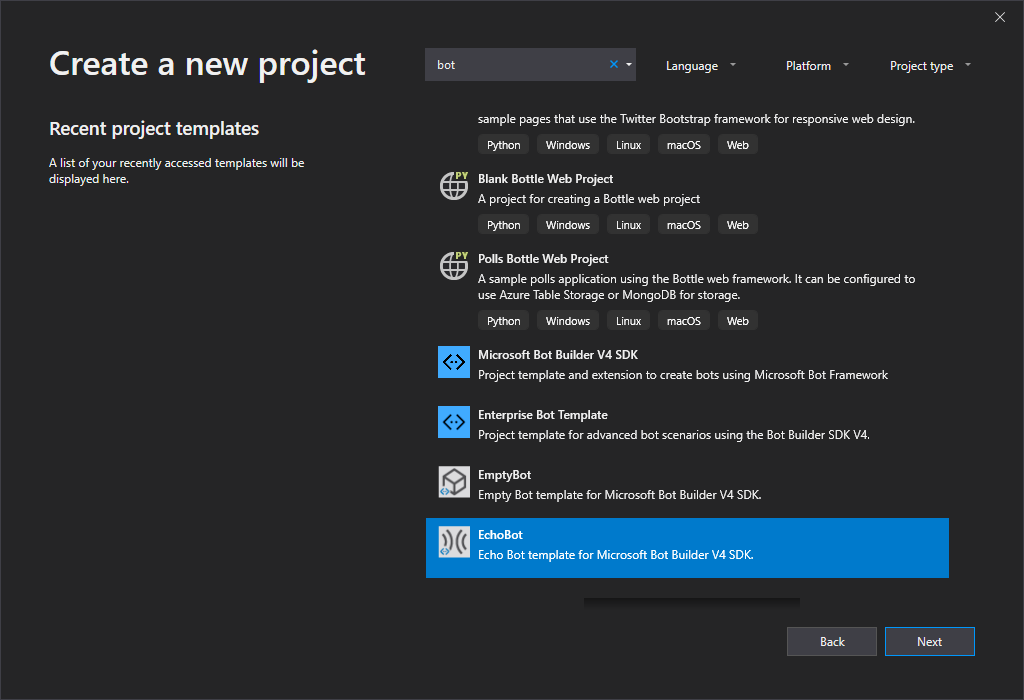
Make sure to create the project in the root folder where you cloned your repo into.
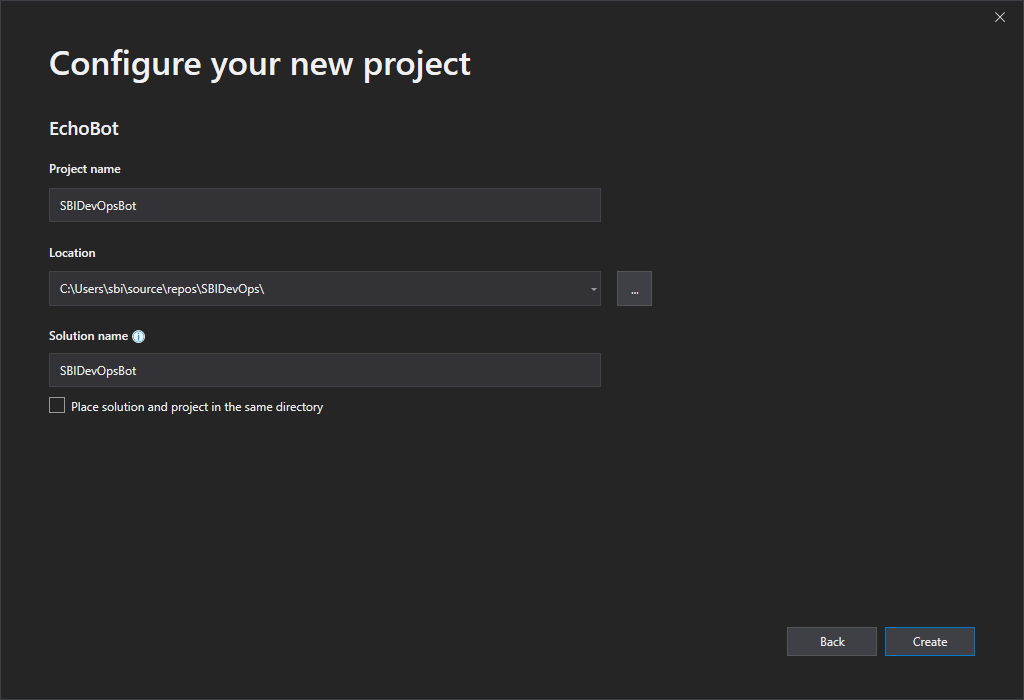
After the solution has been created, we can give it a go and test it locally, to see if the solution is building correctly. So hit F5 in Visual Studio and open the .bot file which has been created with the Bot Framework Emulator and type in a message.
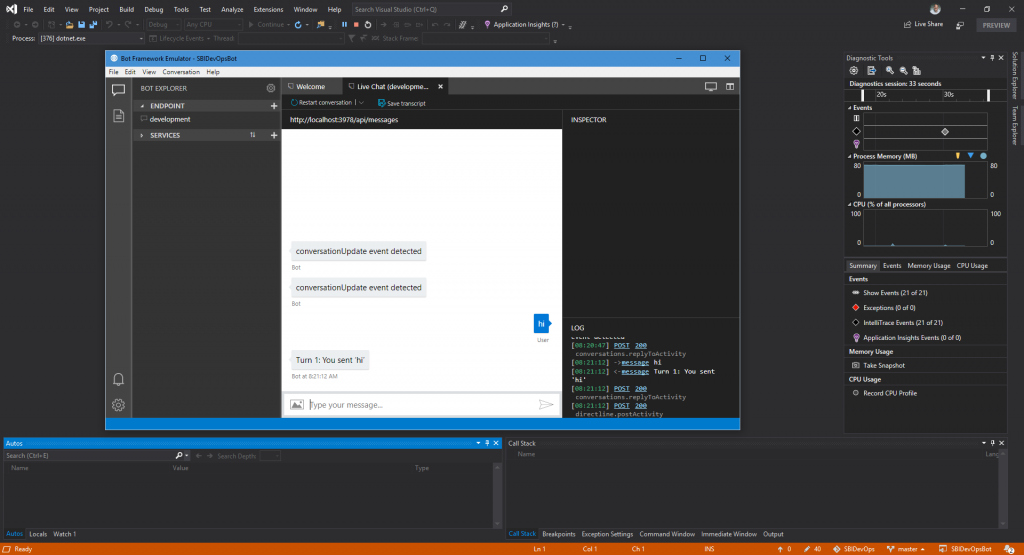
So now that we have our repo stuff ready, we can go on and develop the bot logic locally. If we then say we are ready for production we can commit and push the changes to our Azure DevOps repo with the following 3 commands:
git add .
git commit -a -m "First commit"
git push origin master
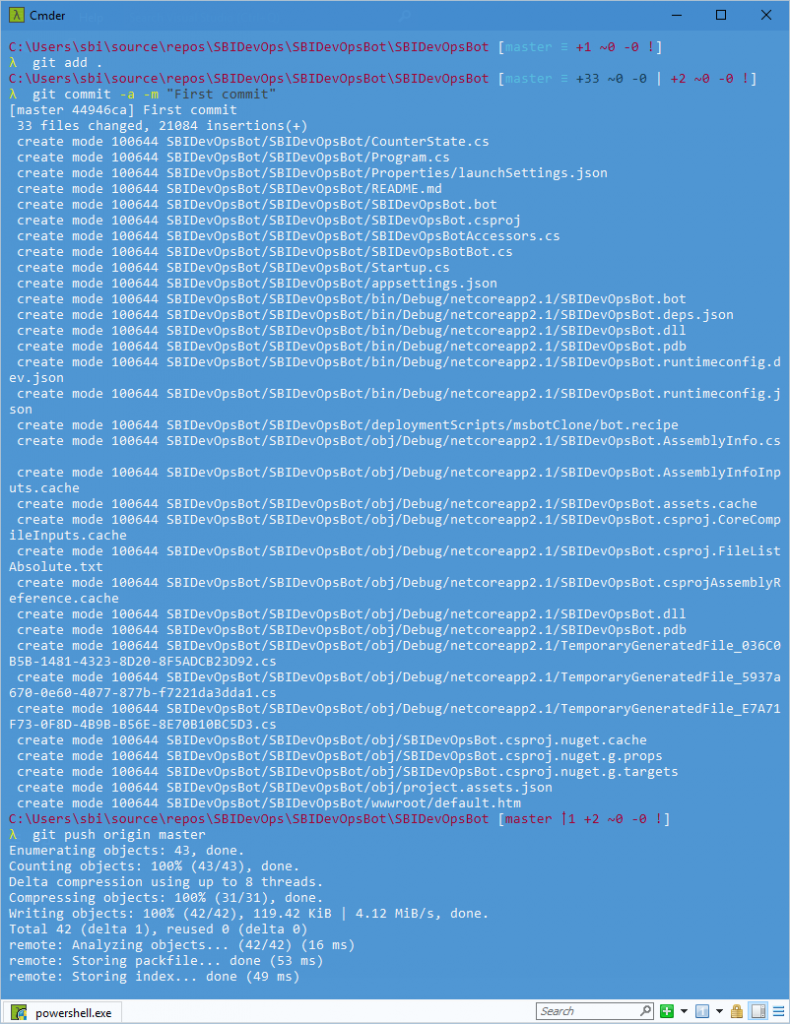
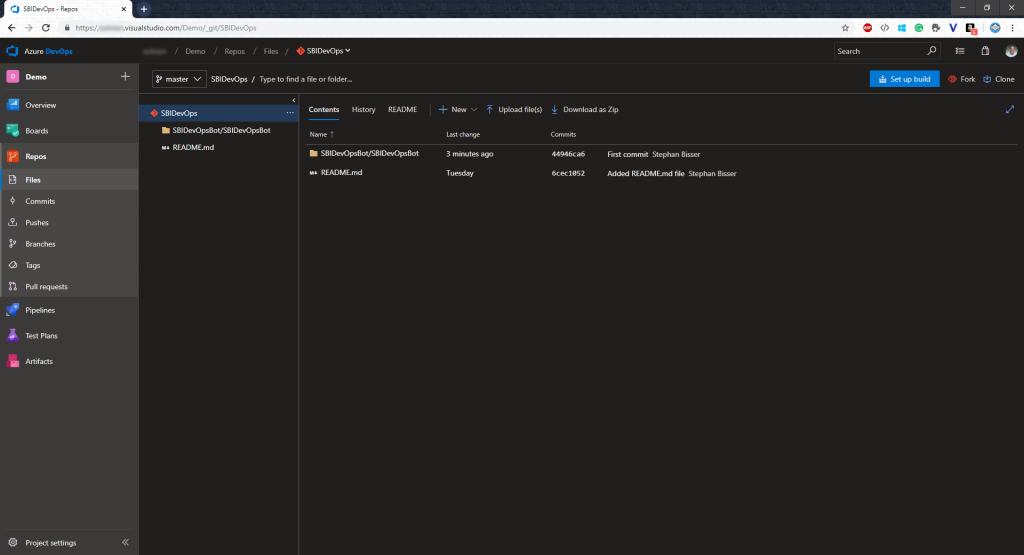
Now that the code has been committed and pushed we can check if the files have been created in Azure DevOps.
Create a Build Pipeline
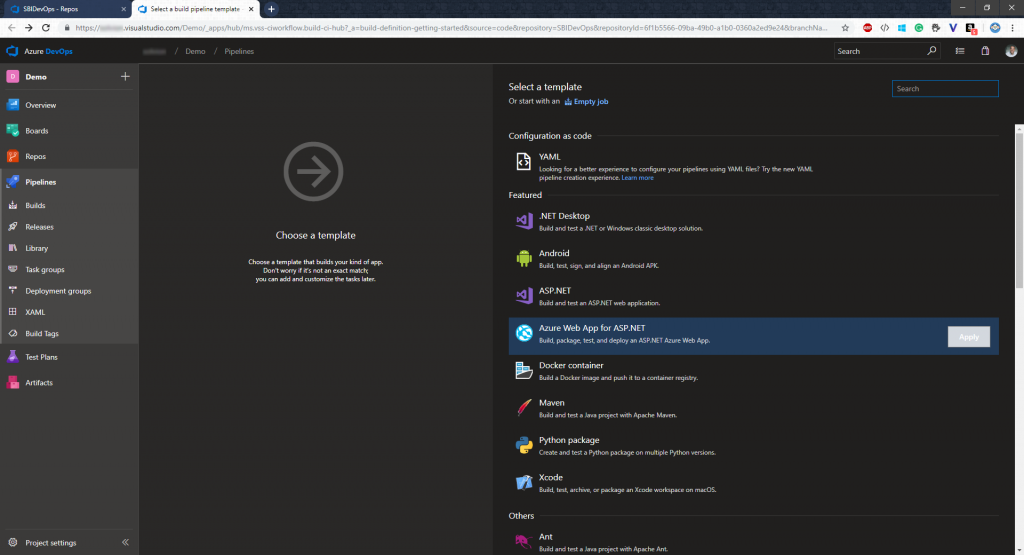
After having our code in the Azure DevOps repo, we can set up our build pipeline to build that code in the repo automatically as well. So within your DevOps tenant navigate to pipelines and add a new Build pipeline. You’ll need to select a template or start with an empty job (I’d go with a template as it saves time). In our case, it makes sense to select the “Azure Web App for ASP.NET template as we are building a C# bot.
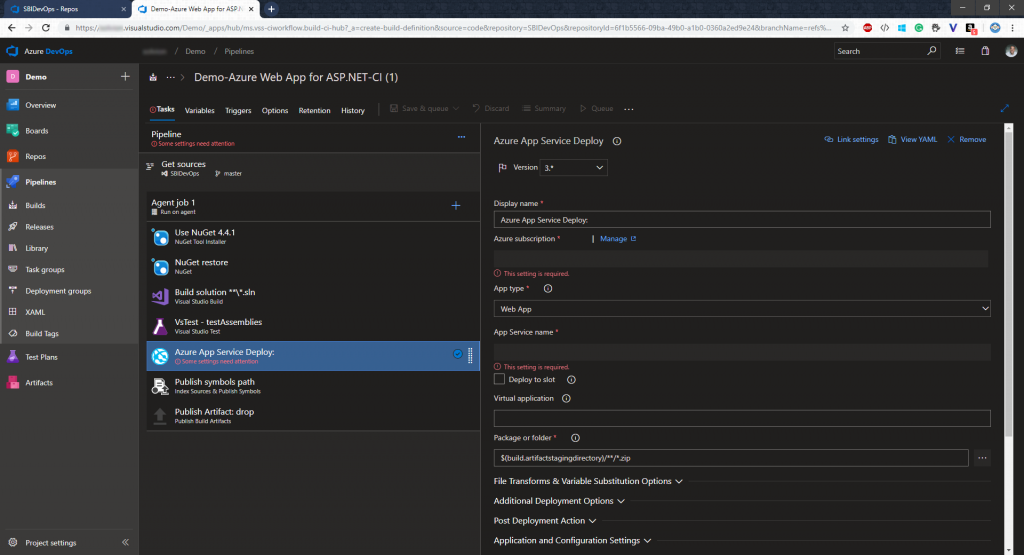
Now we would normally need to configure some settings for our build pipeline like the Azure Subscription we want to deploy the code to. But in our case we want to separate the build pipeline from the release pipeline to avoid any troubles afterward, so we delete the task “Azure App Service Deploy” from our task list completely.
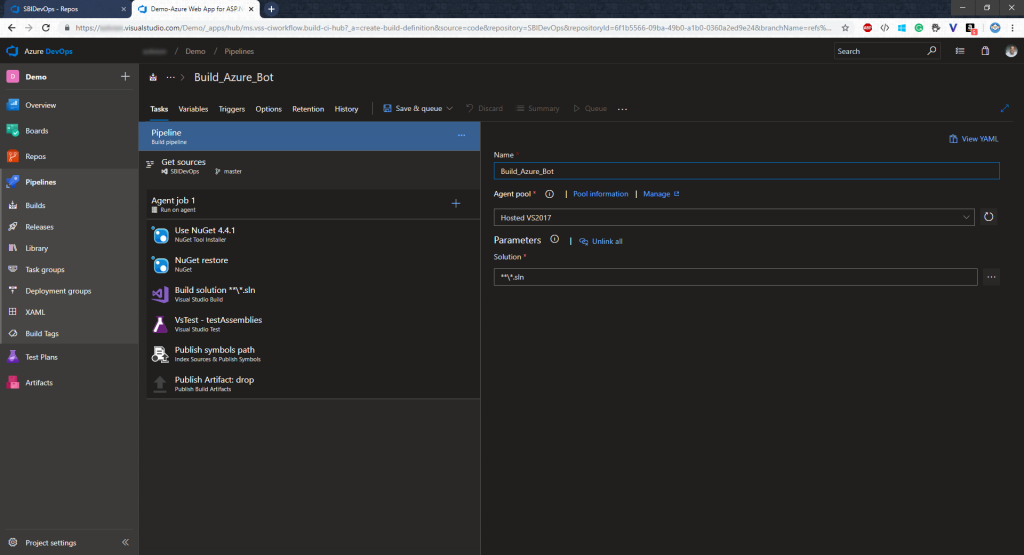
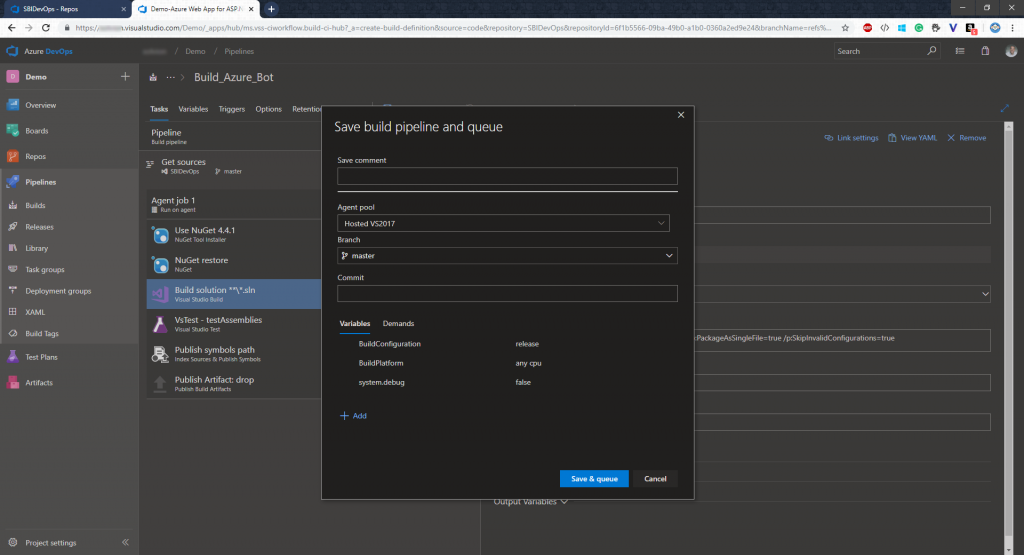
After that, we can save and queue our pipeline to make it ready to build our code.
Create a Release Pipeline
Now that we have our build pipeline ready, we need to create a release pipeline as well in order to actually deploy our built code to an Azure App Service. To do that head over to “Pipelines” and create a new release pipeline. Similar to the build pipeline we will go for the “Azure App Service deployment” template there.
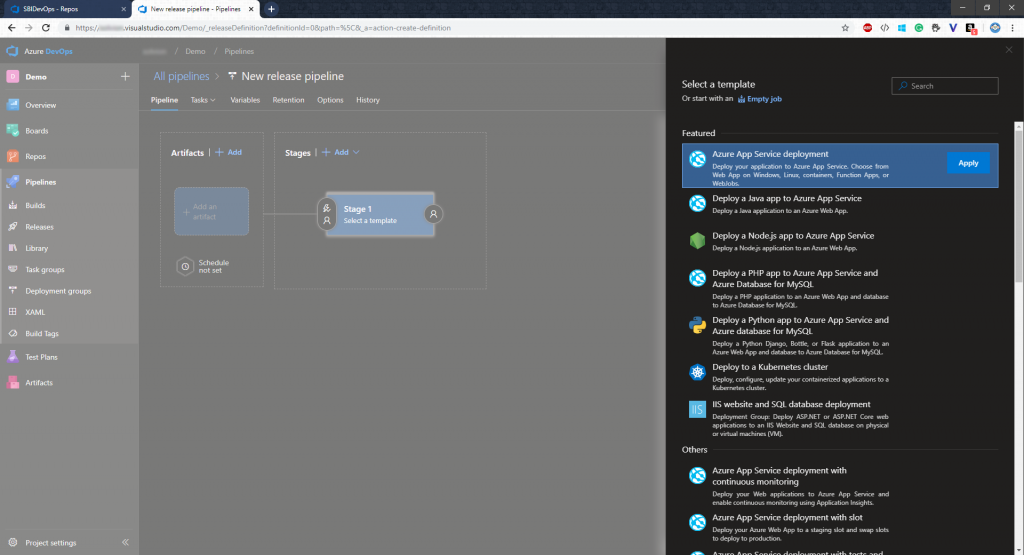
After creating, the pipeline will look pretty empty, but we will change that in a second.
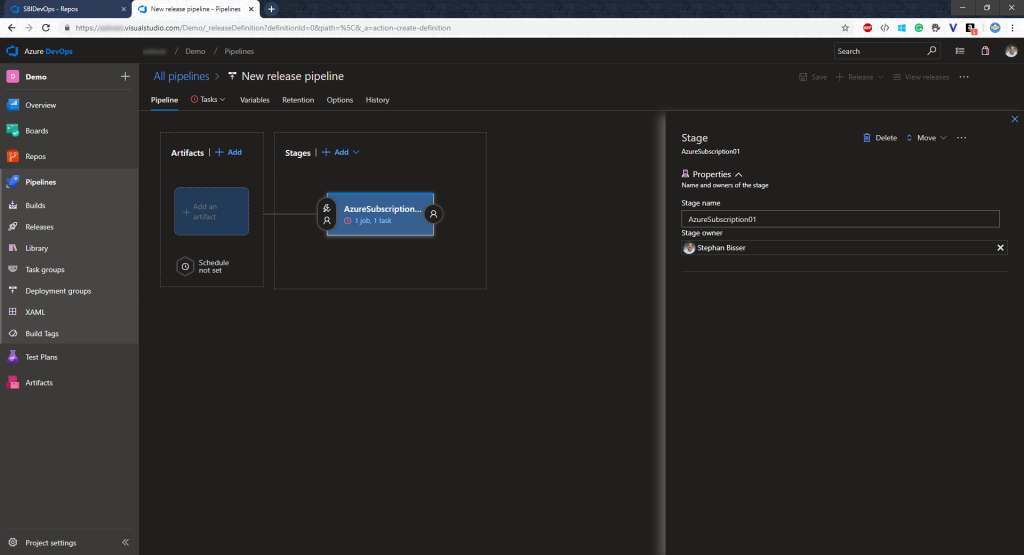
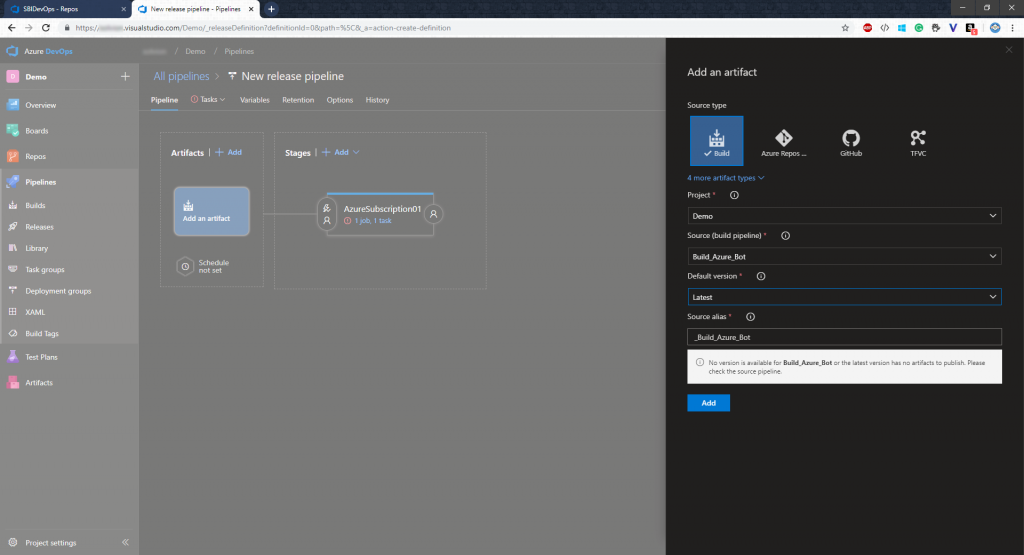
First of all, we need to add an artifact to the pipeline, which actually the finished “product” from our build pipeline. So select your project, source (which is our build pipeline) and the version you want to add to the pipeline (in my case I will go for the latest version).
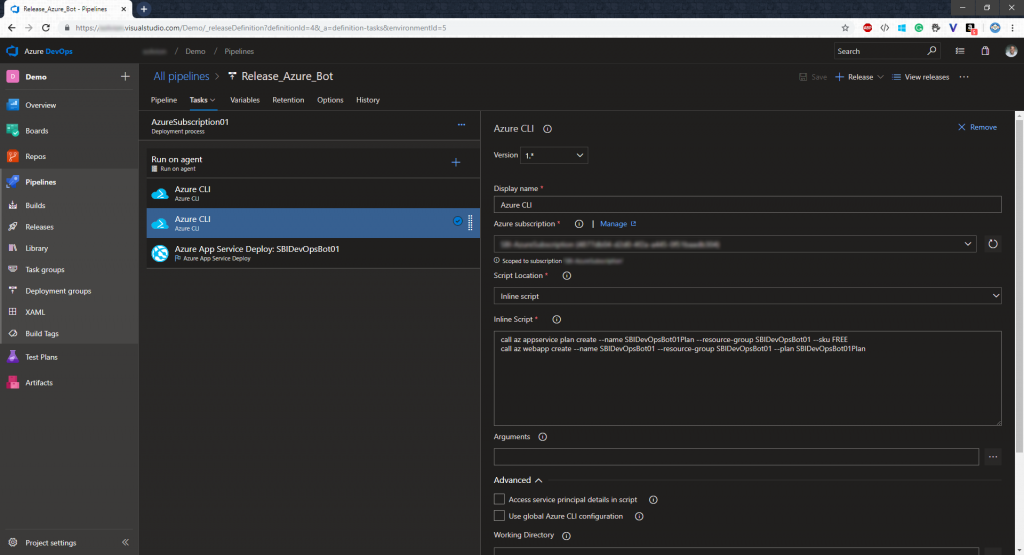
Now we added the artifact to the pipeline, we need to add some tasks to our stage for deploying the bot. But we will also create the necessary Azure resources within our pipeline in order to automate that task as well. So we need to add 2 tasks for executing Azure CLI commands to our stage before the task “Azure App Service Deploy” will be executed. Make sure to select your Azure subscription and select “Inline script” as a script location. Then paste in the following command and hit save:
az group create --location {location} --name {resourceGroupName}
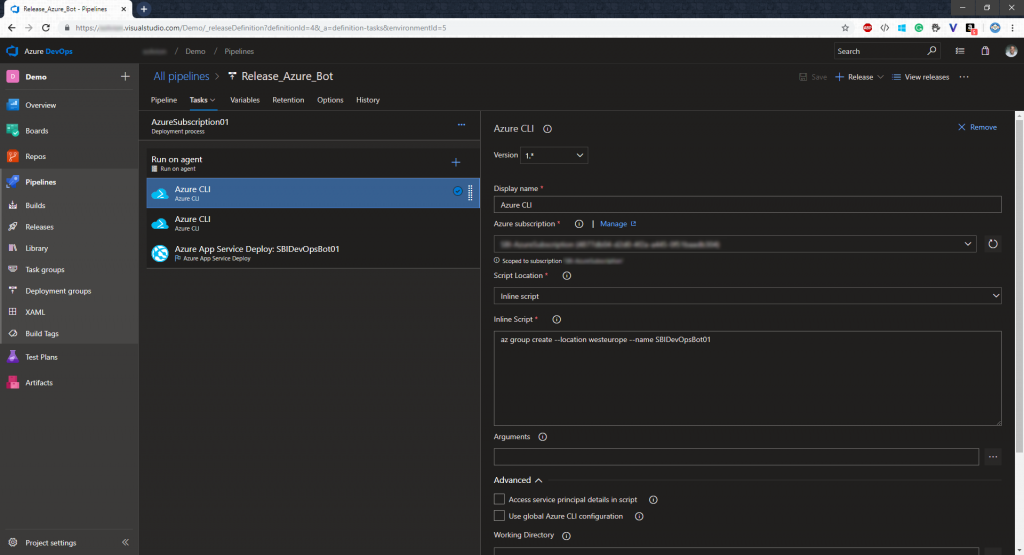
The second Azure CLI command will create an Azure App Service Plan and an App Service. So we do the same thing as with the first task but the command should look like this:
call az appservice plan create --name {appServicePlan} --resource-group {resourceGroupName} --sku FREE
call az webapp create --name {appServiceName} --resource-group {resourceGroupName} --plan {appServicePlan}
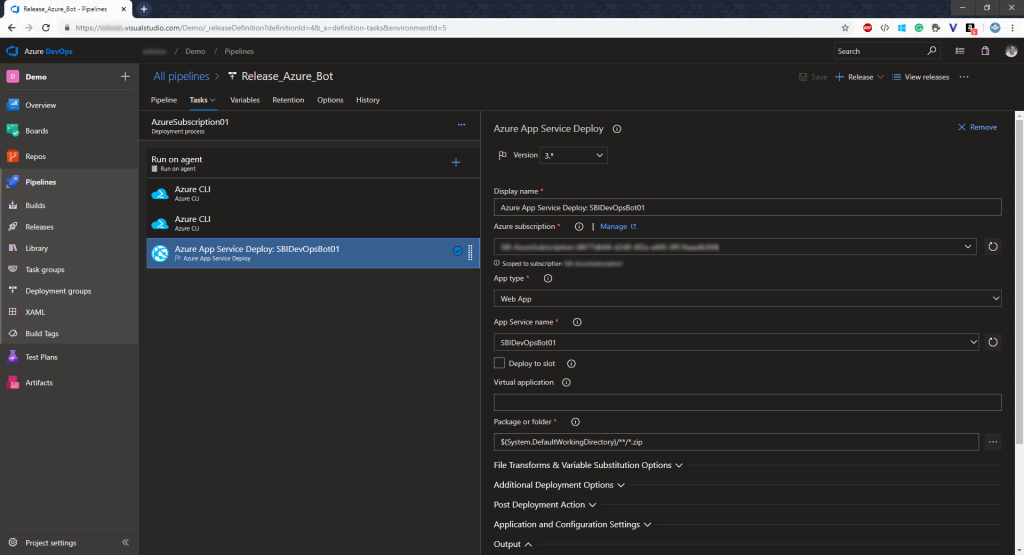
Then we need to configure the 3rd task where we need to select the Azure subscription again and insert our App Service name from the previous task.
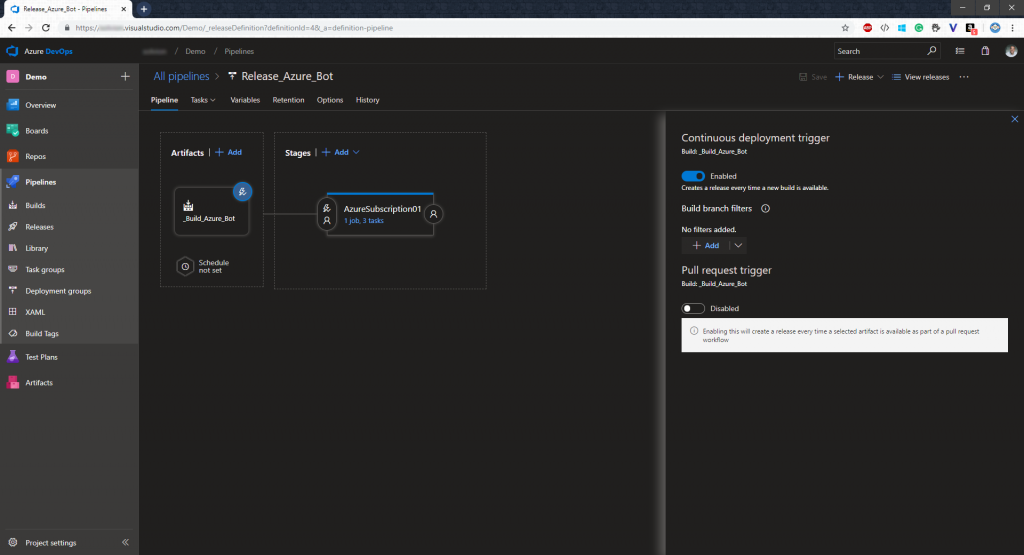
Now the last thing to do here is to enable the continuous deployment trigger to make sure that the releases pipeline will run each time a new build is available.
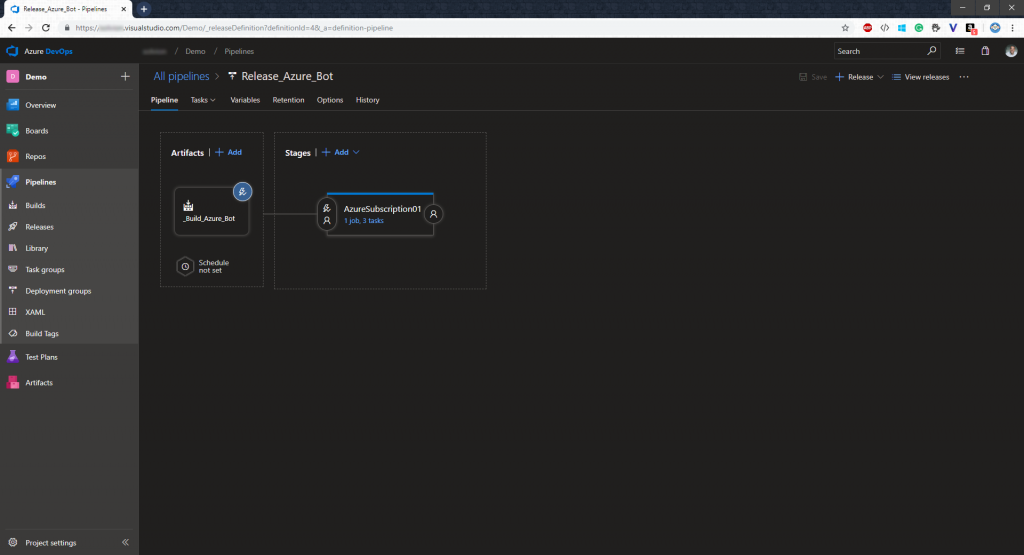
Now that we have that we will save it and check it again. The pipeline should look something like this:
Trigger the first Build and Release
Now that everything is in place, we can head over to our project in VS and commit and push again to trigger the build pipeline.
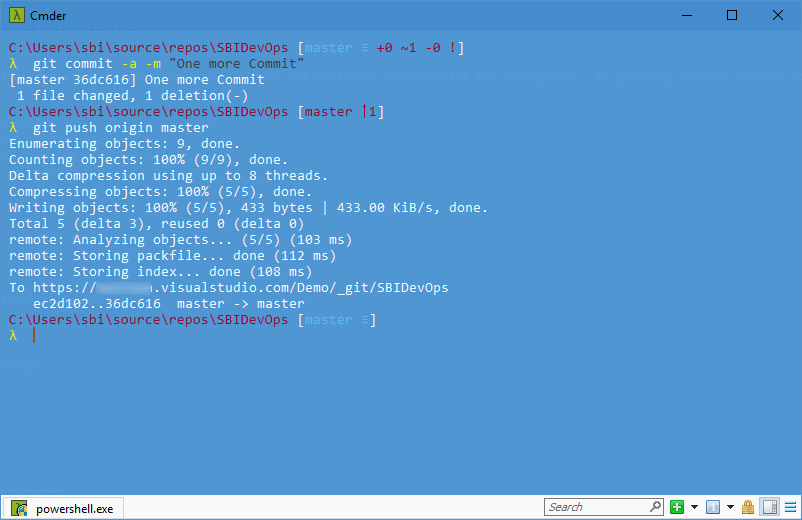
After the commit and push happened we should soon see that there is a new build available in Azure DevOps and if everything is correctly configured the output should be successful.
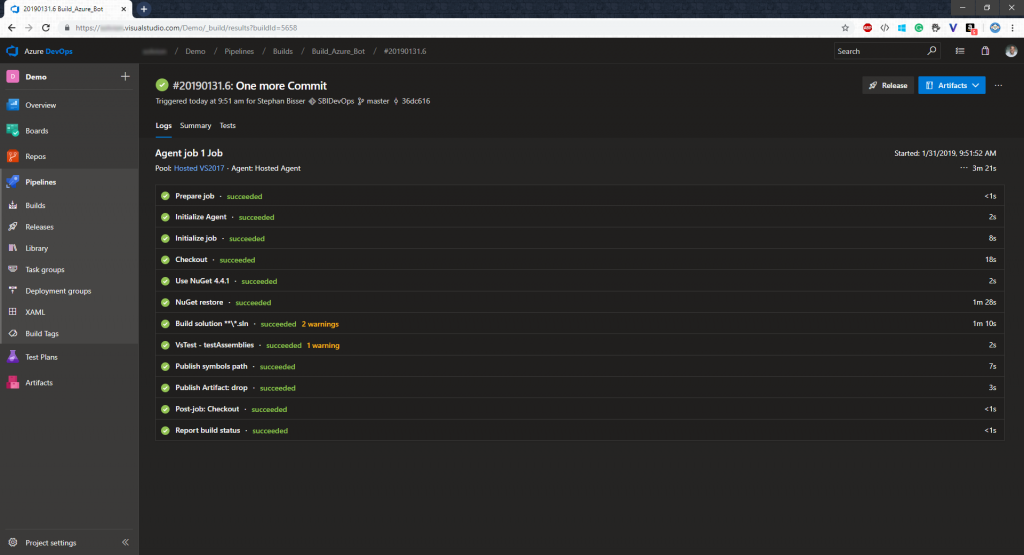
Now that the build is available, the release pipeline should be triggered to create our resources in Azure and deploy the code to those resources.
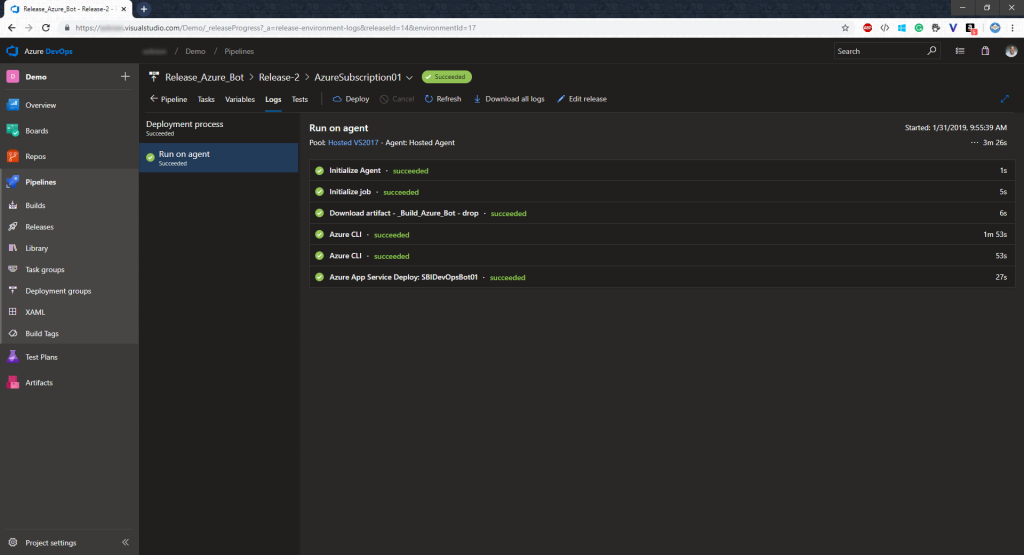
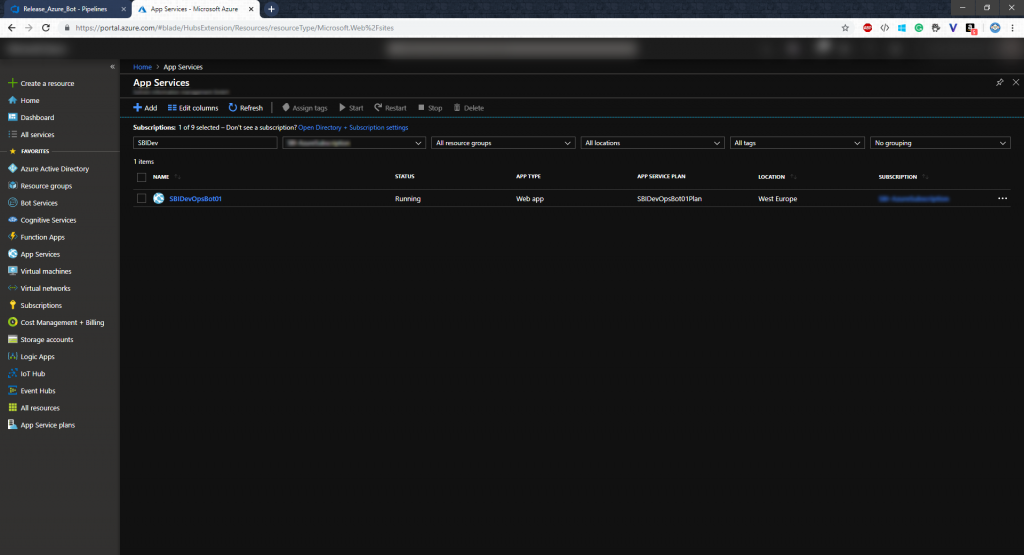
After you see all green lights, open the Azure Portal and check if the resources have been created correctly.
Create a new Bot Channel Registration
By the time of writing, I still have not quite figured out how to automate that task as well. The problem we have is that we need to create a new bot channel registration, BUT we need to create App ID and App Secret ourselves as we need to secret in our .bot file later on. So going with the automated routine using the CLI is no option at the moment as there is no way to grab that secret currently (I hope that there will be a solution to that soon). So within our Azure Portal we go to the App Service which has been created and grab the URL.
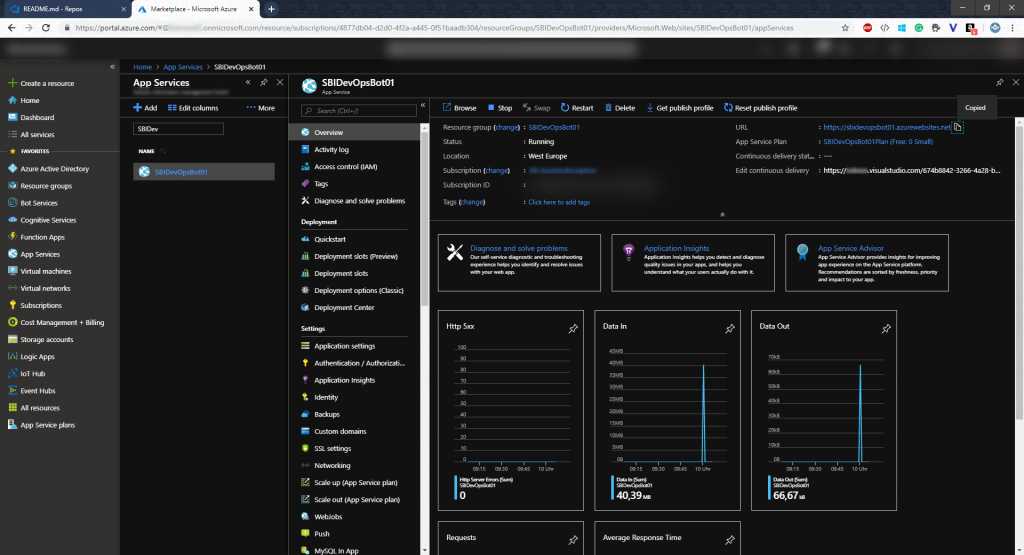
Then we create a new service called “Bot Channel Registration” and select “Create App ID in the App Registration Portal”:
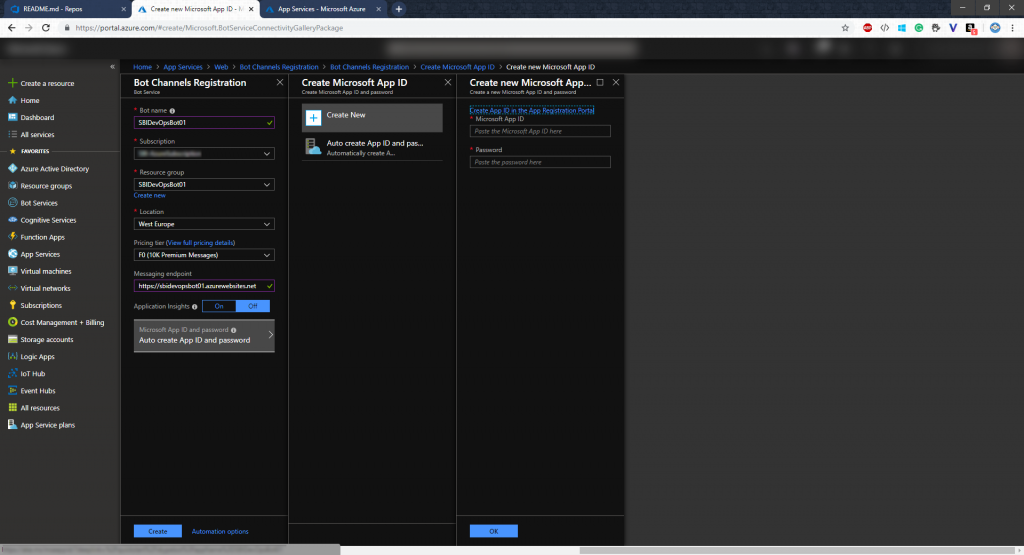
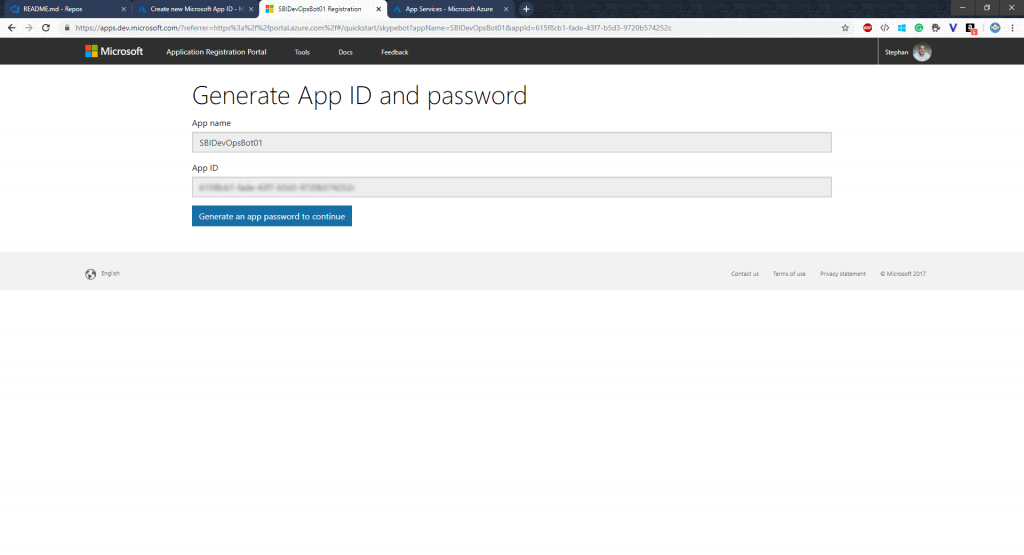
Now we generate a new app password (= appSecret)
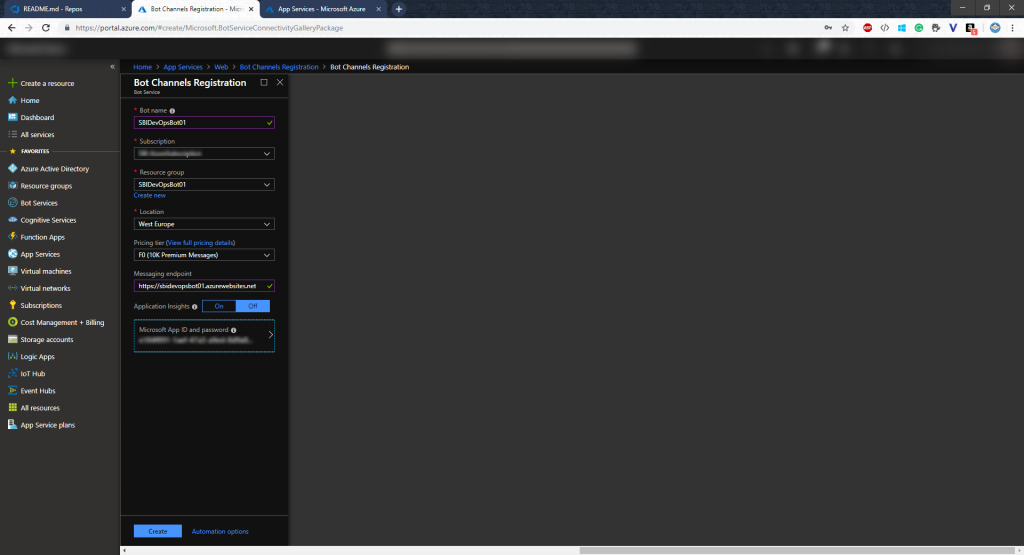
And after pasting that in into the Azure Portal we can create the service
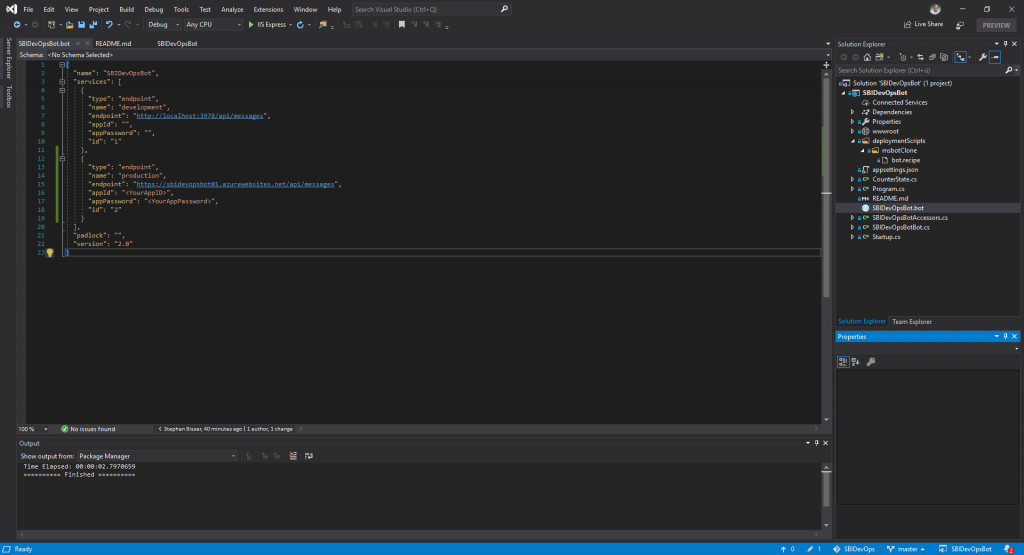
Now that the service has been created, we need to adapt our .bot file locally with that information. So we create a new endpoint there (make sure to append "/api/messages” to your App Service URL you copied before as an endpoint):
{
            "type": "endpoint",
            "appId": "{appID}",
            "appPassword": "{appSecret}",
            "endpoint": "https://{appServiceName}.azurewebsites.net/api/messages",
            "id": "{someRandomID}",
            "name": "production"
}
Update the pipeline
Now you might already know, that with the current configuration of our release pipeline, we have a problem. Because we have tasks to create a new App Service each time a new build is available. That won’t work, as we already have created those services in Azure. So we need to just update the code for that service instead of creating a new one. The simplest way to do that is to create a new stage in the release pipeline (NOTE: I am currently figuring out how to work with conditions in the Azure CLI task to check if the service has already been created and if so skip the task and go straight to the code deployment). So we are going to clone the stage we created earlier.
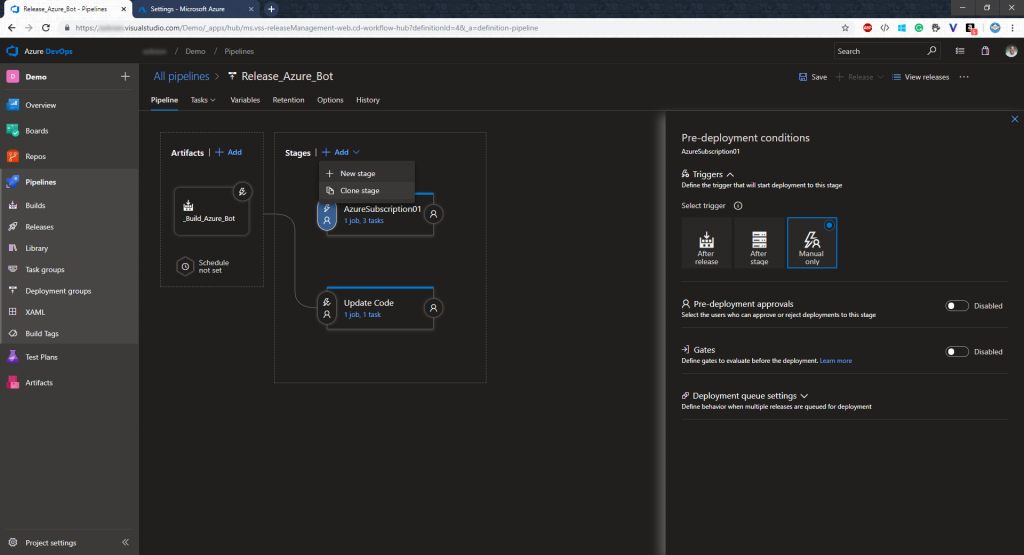
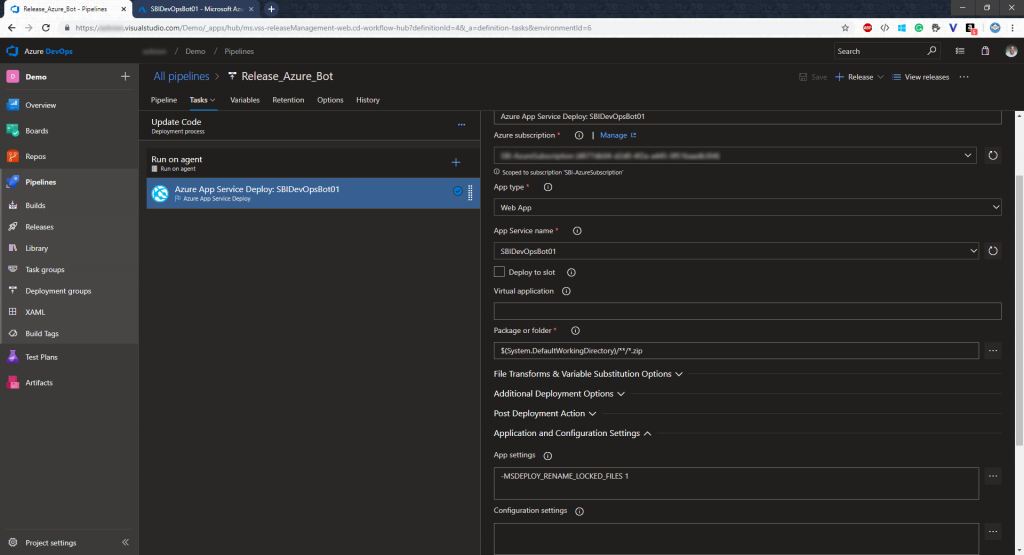
But this time we only will have one task, which is responsible for deploying the code there, instead of creating the Azure resources. Also make sure to add an App Setting to that task, which will deal with the locked files: MSDEPLOY_RENAME_LOCKED_FILES = 1
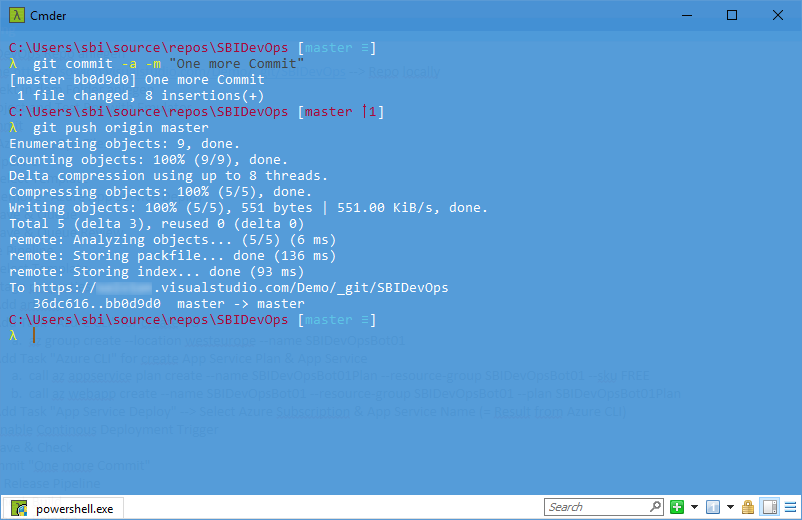
Now that we have that, we will trigger the pipeline again by committing changes to our repo via the command line.
And if everything has run successfully, we can go ahead and test the bot in the Azure Web Chat emulator to see if the changes have been applied to the bot’s code.
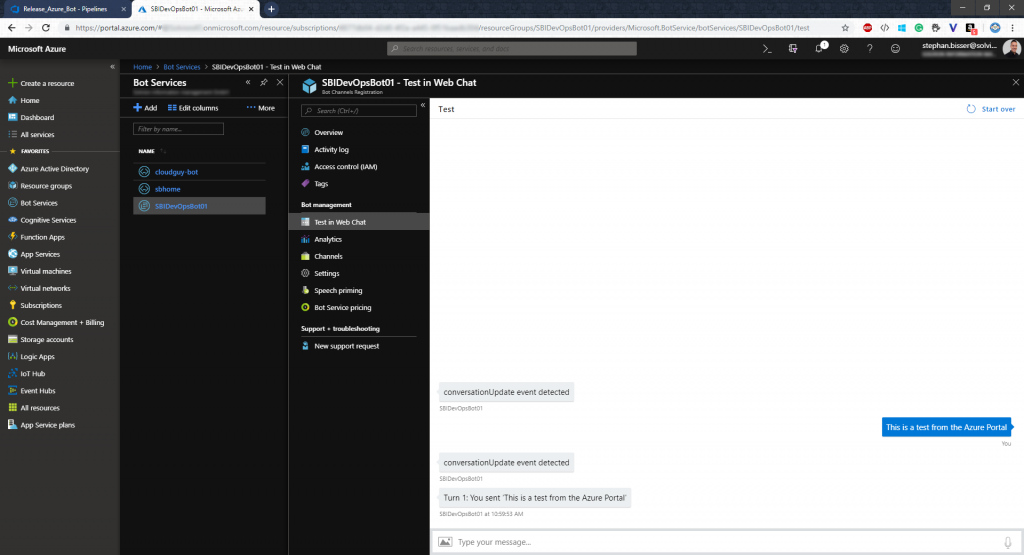
Now you can go ahead and implement your bot’s logic, add Cognitive Services like LUIS and QnAMaker to make your bot intelligent and whenever you are finished, just commit and push and your Azure resources will be updated by Azure DevOps automatically…
Summary
To sum up, the use of Azure DevOps as a CI/CD pipeline can help you in terms of developing locally, but building and deploying remotely. Thus, there are still some minor issues, like the problem, that we need to create the Azure Bot Channel Registration manually, due to the fact, that we cannot grab the App Password using the Azure CLI. But apart from that, we have a pretty cool way of integrating a CI/CD pipeline for building bots as well.
NOTE: I will look into the Azure CLI task for creating the Azure resources and update this post when I have found a good way of handling conditions in that task to overcome the fact that we need to create a second stage for all deployments apart from the first one. So stay tuned…
In case you want to see the actual implementation just take a look at 